Objects
Here you can learn about objects available in Seon and how to manage them.
Contents
ID system
#IDs
Objects in Seon are imported into the array of size 1000. Every object must have the #ID connected to it. There are different types of #IDs depending on which objects are available and recommended to use:
| #ID range | Type | Description |
|---|---|---|
| <0;0> | Root | The only #ID, where you can put a boss. Can be used for everything. |
| <1;199> | Data | All asteroids need to be contained here. Can be used for everything except bosses. |
| <200;999> | Other | May contain all objects, which do not store any data: walls, spheres, respblocks etc. |
$IDs
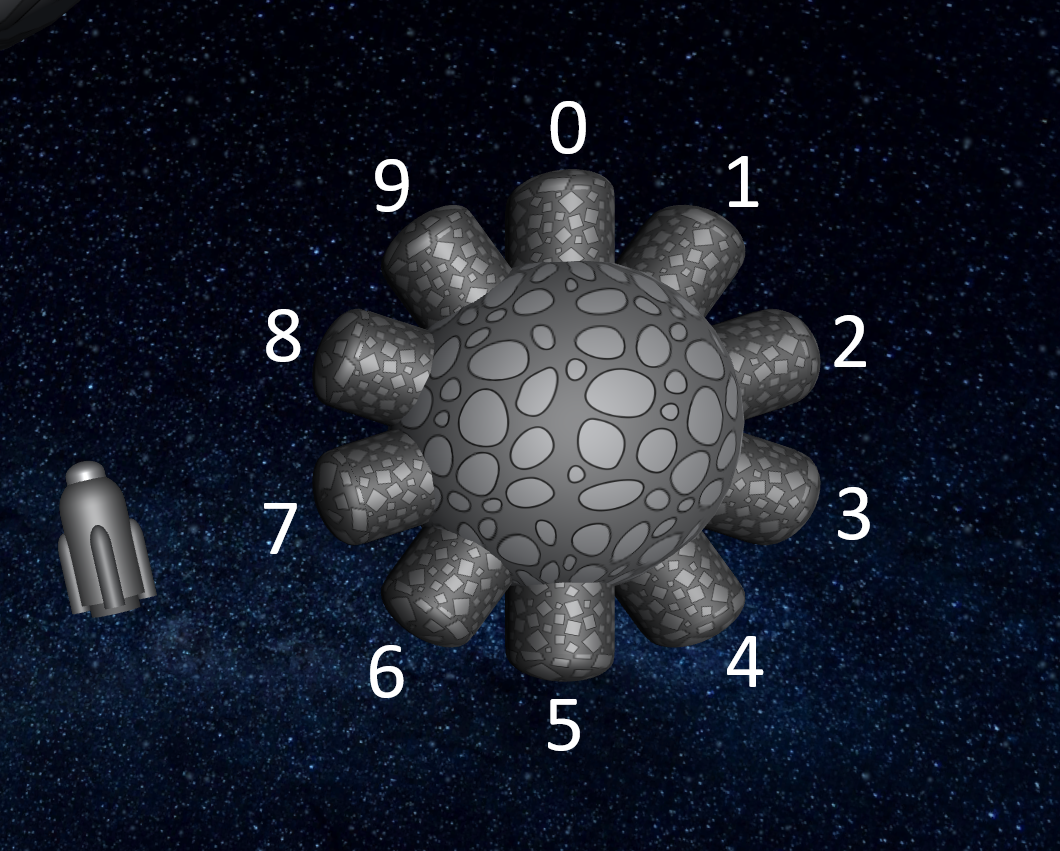
Every asteroid has up to 20 asteroid objects on it. Every one of them can be pointed using the proper $ID along with the #ID of the asteroid. The 0th object is on top of the asteroid and every next comes in the clockwise direction. The highest $ID can be 19.
 |
|---|
Catch
To set pointing on a specific #ID or $ID command catch can be used.
It has the following structure:
catch #/$ [range]
Range can be written as one number, for example 5 or as a range, for example 10-19.
When interpreter is pointing on some objects, every command will be executed on all of them.
#ID and $ID pointers are independent from each other. Most commands use only #ID pointer.
$ID pointer is used only in commands, which have $ character in their name (they affect fobs, and not objects), for example
move$ or rotate$.
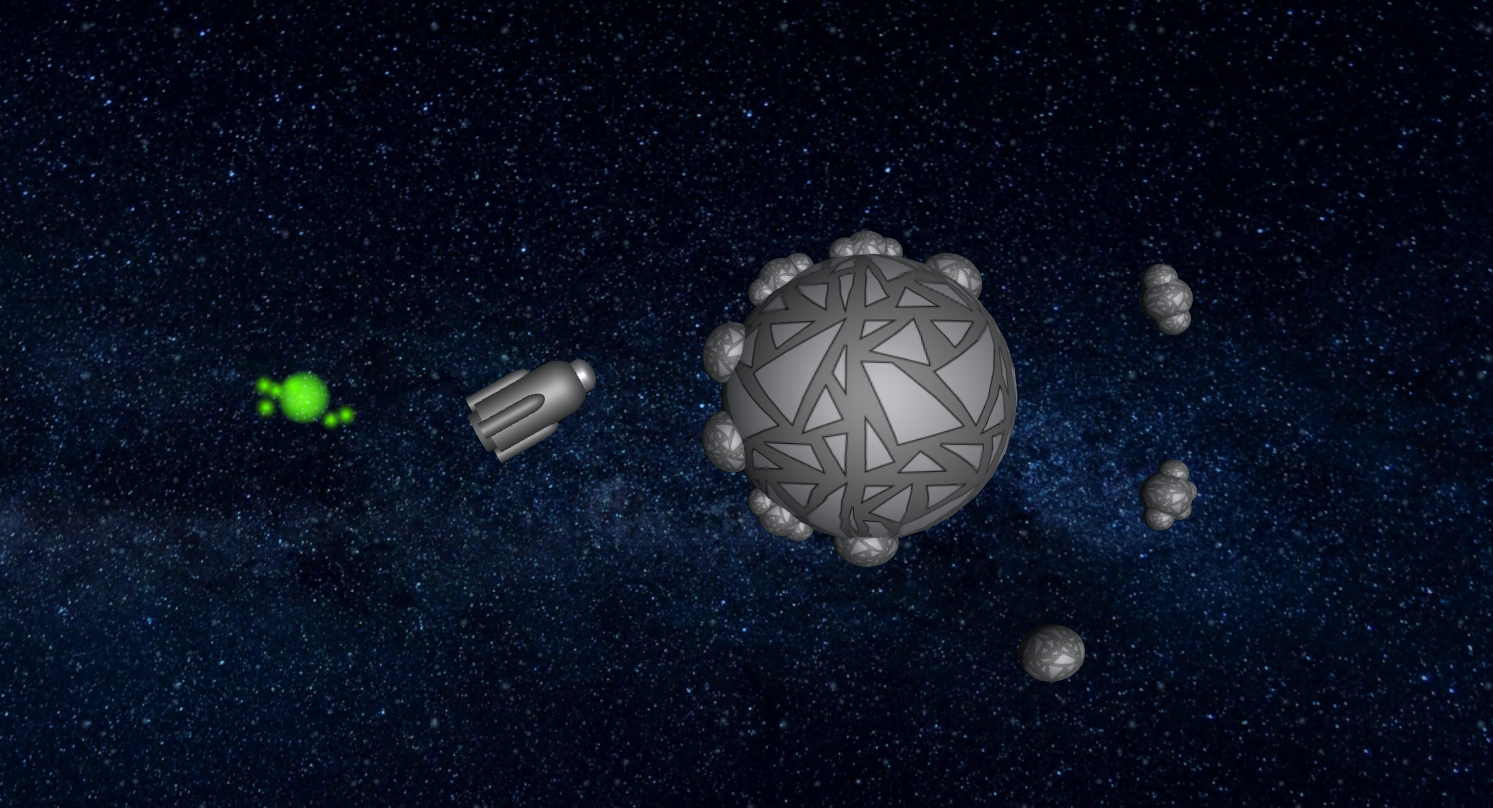
Here is the example how to use it:
catch # 200 summon hole 50      < create empty space >

catch # 1                       < set #ID to 1 >
summon asteroid 5 0             < summon asteroid at this #ID >
move 10 0                       < move this asteroid 10 units right >
catch $ 2-4                     < set $ID to 2-4 >
move$ 0 3                       < move these fobs 3 units up >
 |
|---|
Summon
Command summon allows you to summon objects. Every object will be summoned
in the middle of a structure and can be moved using command move.
The structure of summon command is different for every object. Here is a list of them all and their
summon parameters:
summon asteroid [size-4-10] [type] [fobcode]
summon wall [size-X] [size-Y] [type]
summon sphere [size-X] [size-Y] [type]
summon piston [size-X] [size-Y] [type]
summon star
summon monster

summon hole [range]
summon respblock
summon animator
summon boss [type]
[type]must be an integer.[range],[size-X]and[size-Y]can be decimals.[size-4-10]must be an integer from <4;10>.[fobcode]is a special format, which you can read about here.
If you don't use enough parameters, the last ones will be replaced with an empty string, which means, that the default value will be chosen for them.
You can read more about specific objects here:
Physical objects
| Name | Preview | Recommended #ID type | Notes |
|---|---|---|---|
| Asteroid | 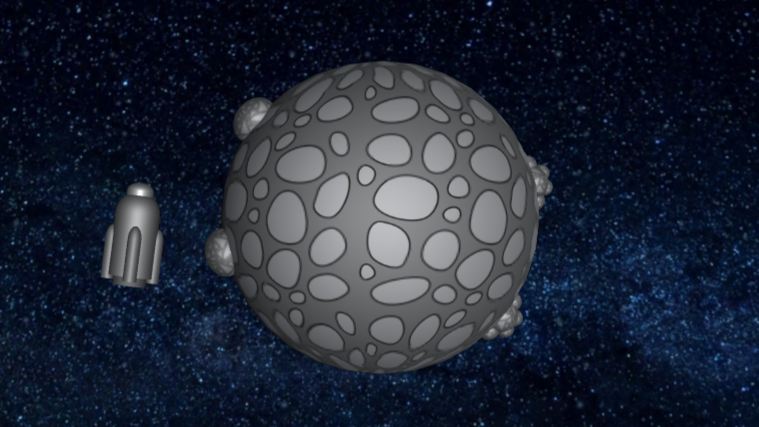 | Data | Just a normal asteroid. Fobs are summoned along with it. |
| Wall | 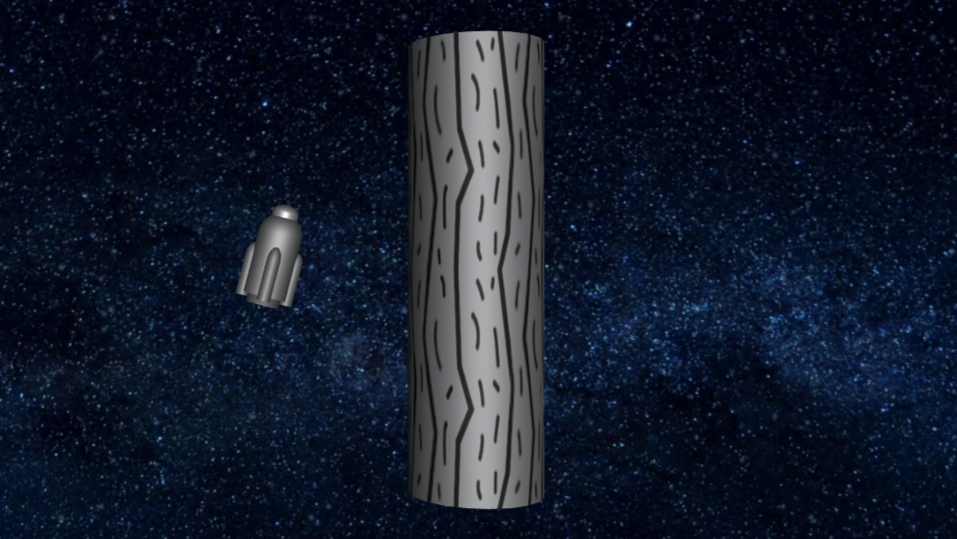 | Other | The customizable arena wall. |
| Sphere | 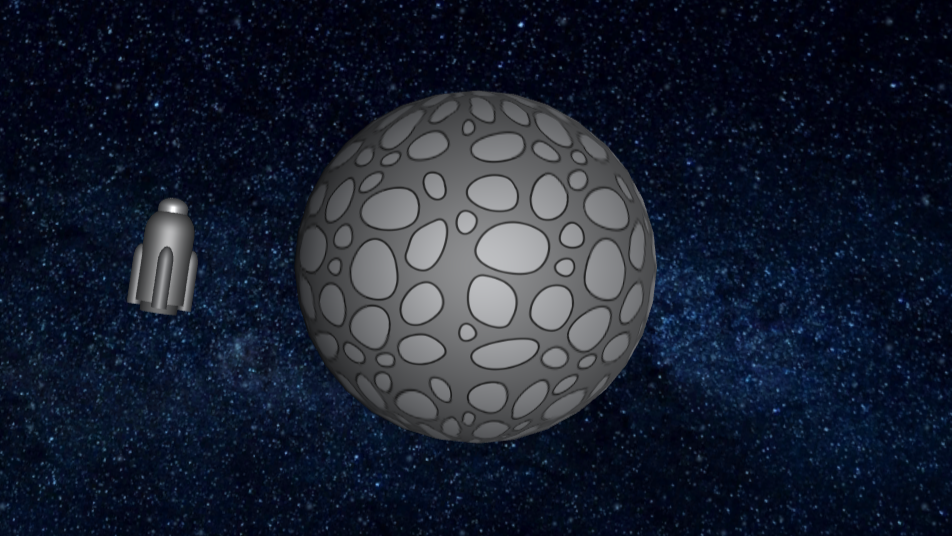 | Other | The customizable asteroid-like sphere without fobs. |
| Piston | 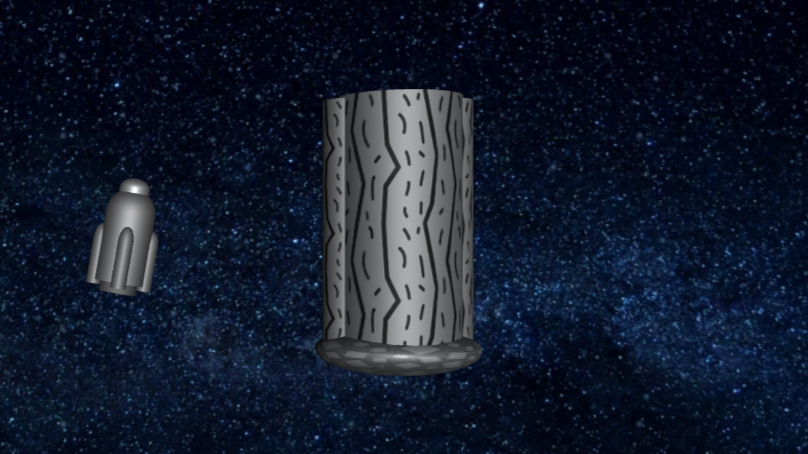 | Other | The customizable piston. |
| Star | 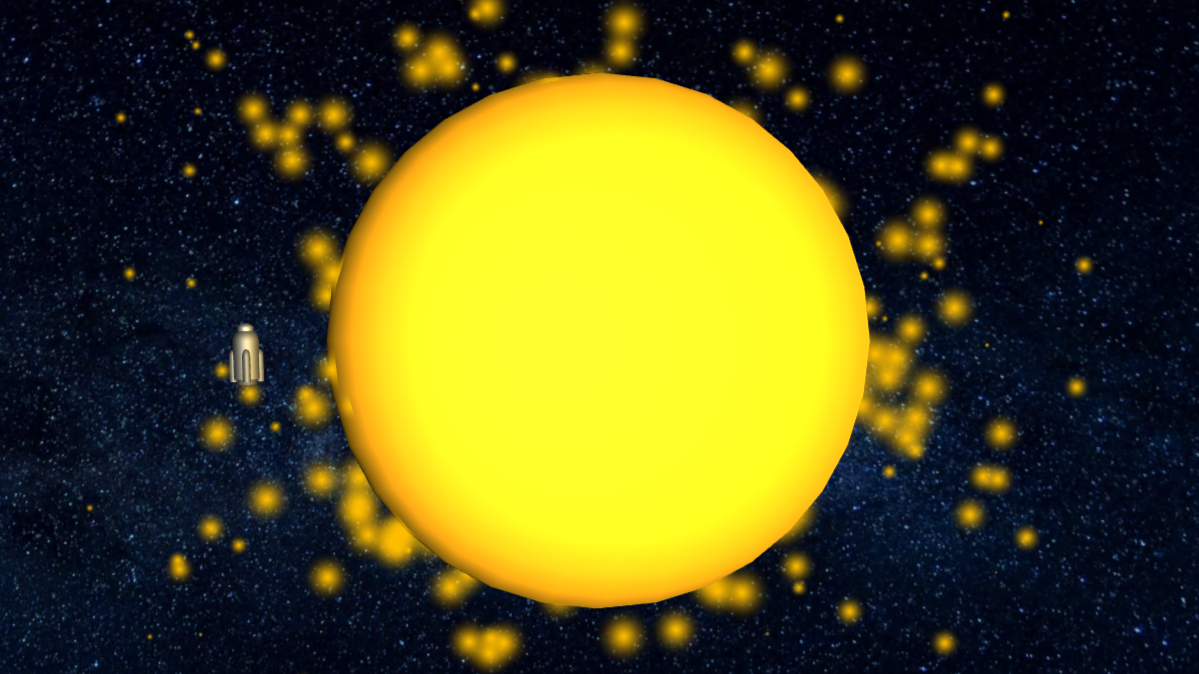 | Other | Just a normal star. |
| Monster | - | Other | Unfinished and unsupported object. It is never used in game. |
Technical objects
| Name | Recommended #ID type | Notes |
|---|---|---|
| Hole | Other | Creates empty space in a specific range |
| Respblock | Other | Disables respawns in a specific range. |
| Animator | Other | Can be configured to animate other objects during boss battles. |
| Boss | Root | The boss object. It will automatically link with the bedrock storage, if both present in the structure. |
Fobcode
Fobcode is a special format, which allows you to place specific objects on
any summoned asteroid. It consists of multiple integer numbers,
representing fob IDs separated by , characters.
Each of them represents one fob. The numeration is done like in $IDs. For example, here
you can see, how the asteroid in the middle of any arena is generated:
52,53,50,,,,,,,,50,53
Total Vacuum has ID = 72. You can use it to remove the specific fob completely.
If you leave the fobcode empty or replace it with a single letter like x, all fobs will generate randomly using objects_generate settings.